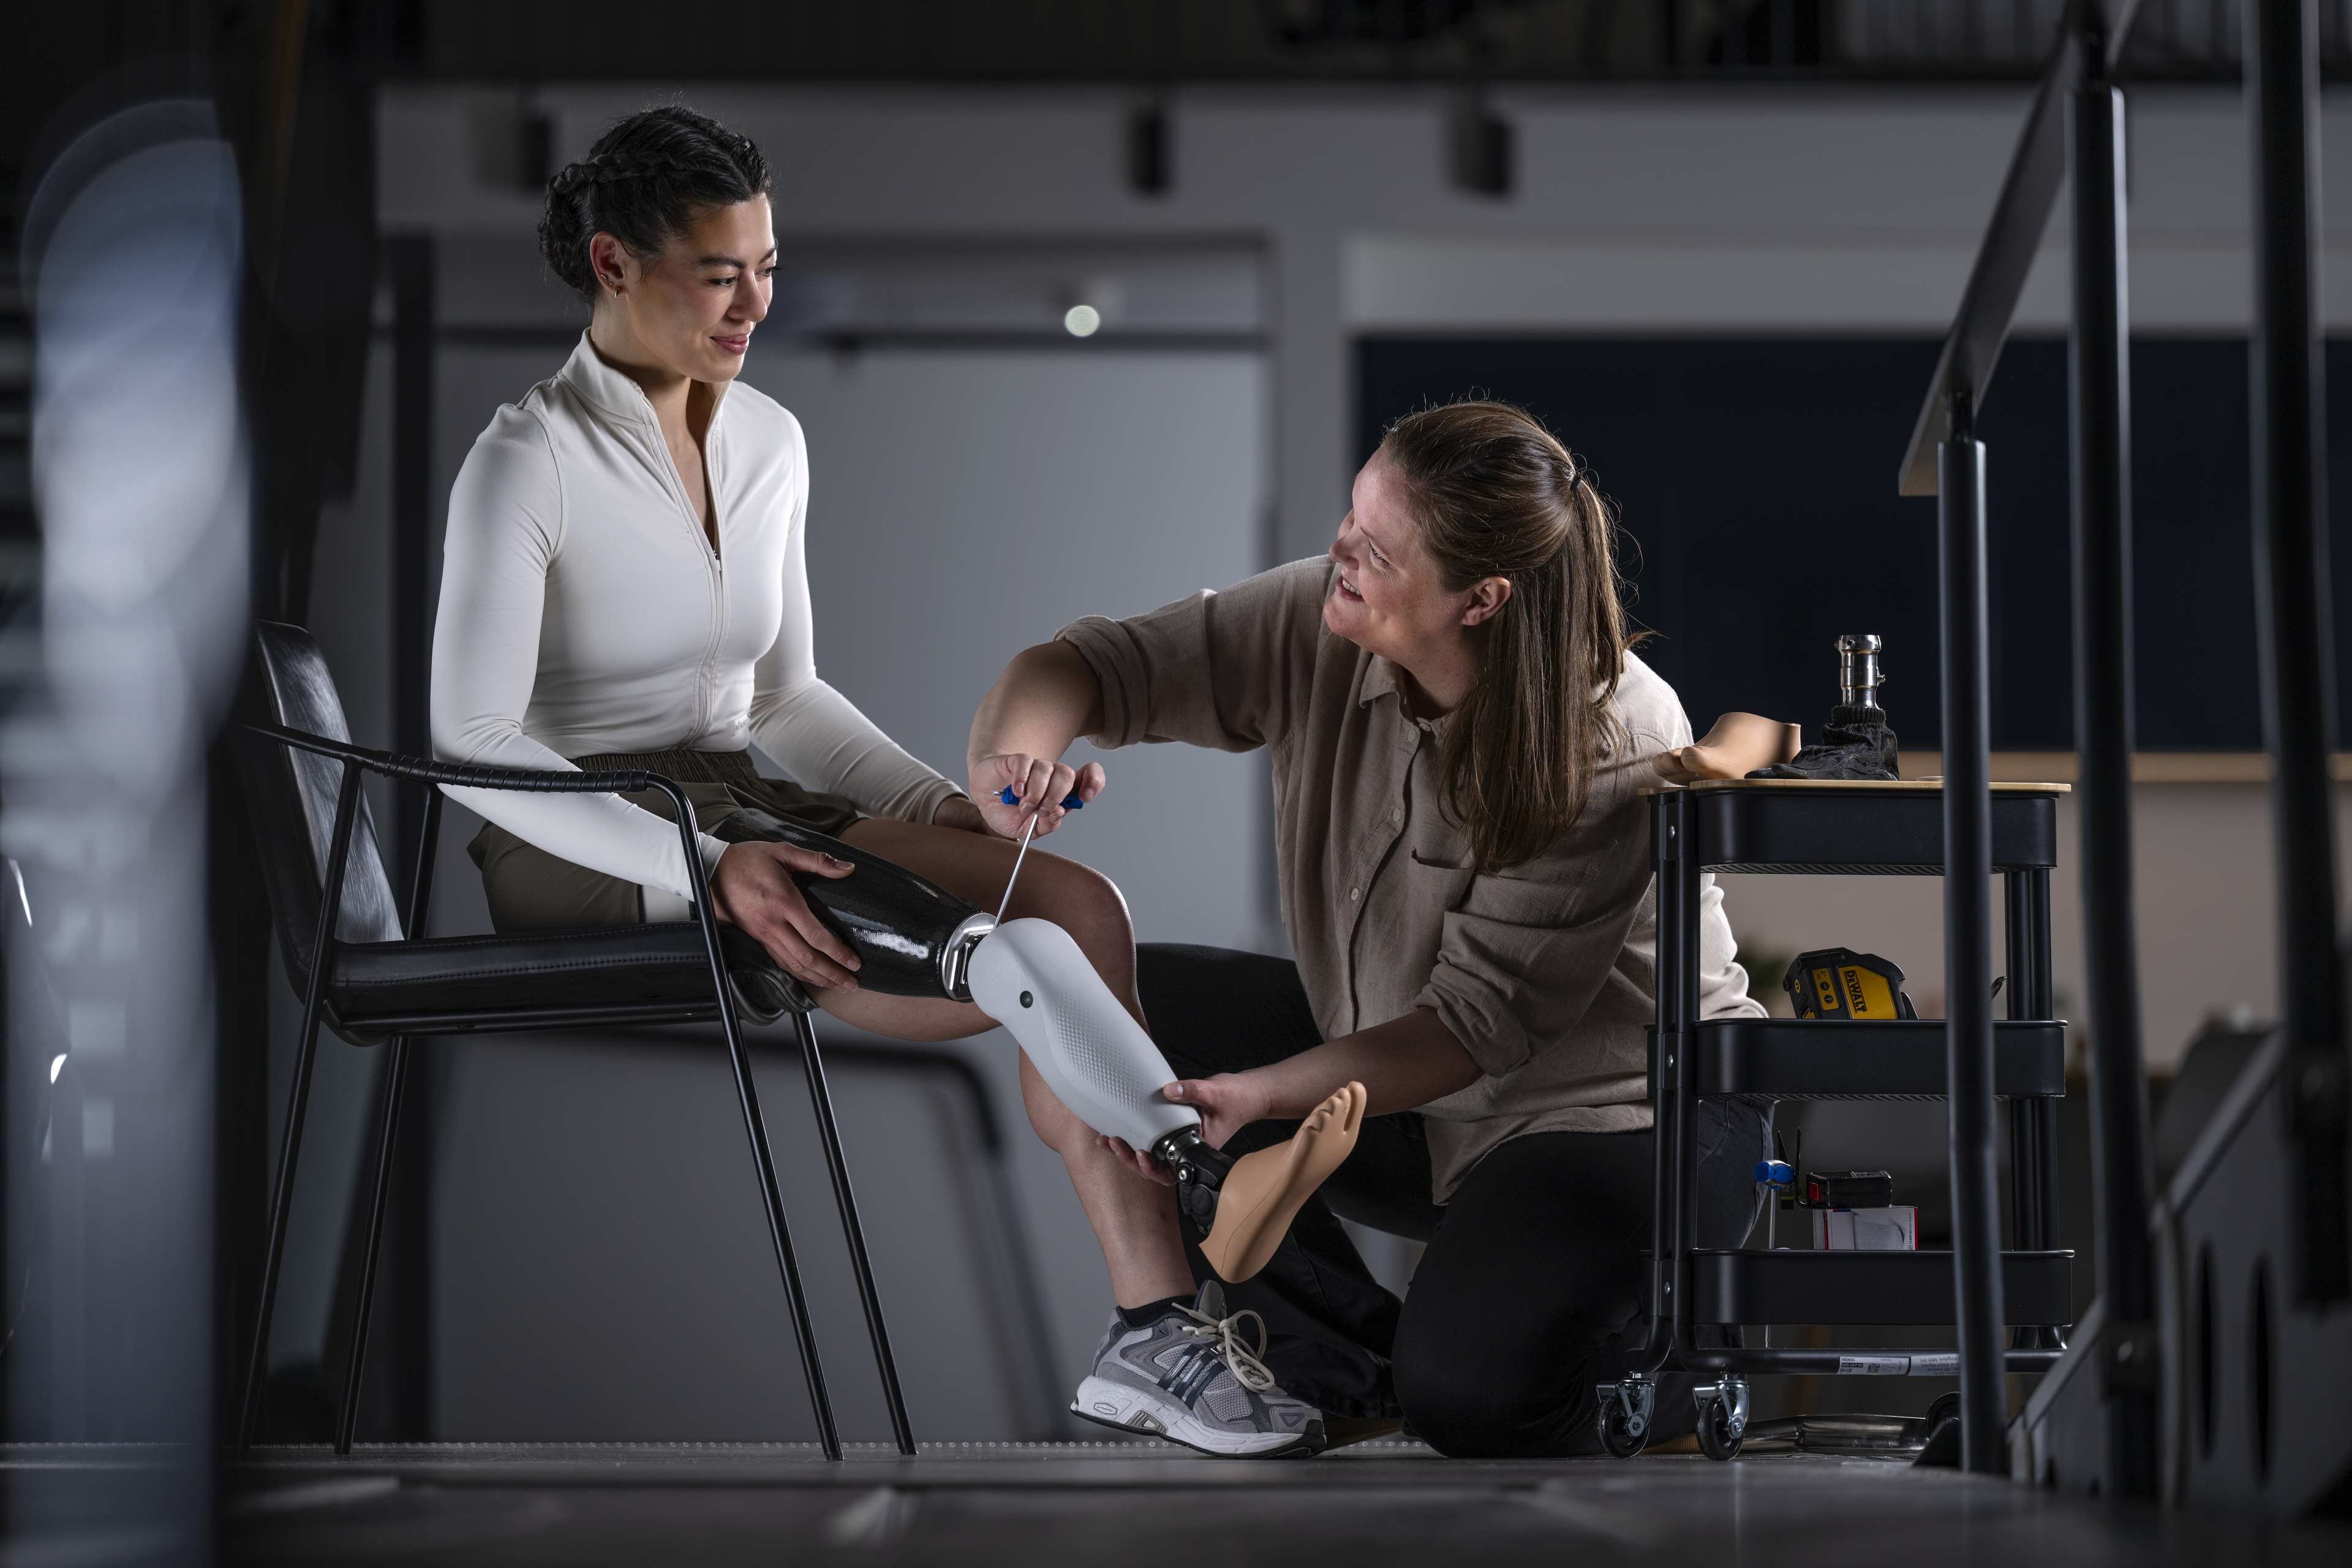
Navii® Trial Support
You're not on your own during your Navii® trial — we're here to support you.
Navii®User to User Guide
User to User Guide with Travis
Some simple and easy steps you can do to safely and successfully get started. This guide is meant to supplement the training you received from your clinician.
Academy Training Videos
On-demand digital training and education
Always check with your CPO/therapist which exercises are possible with your prosthesis. As with any exercise, if you feel unwell or experience physical pain or discomfort, you should stop immediately and consult a doctor.
- Stand upright, feet shoulder width apart.
- Distribute your weight evenly between the prosthetic and sound sides, using a wall or parallel bars to balance.
- Shift your weight slowly from left to right and back again. Focus on moving your upper body and pelvis together to the same side and feel how your weight is shifting from one foot to the other.
- Next, try to distribute weight as evenly as possible between the prosthetic and sound sides, and hold. You can also modify the weight distribution goal by moving the arrow.
- Unload the prosthetic side and repeat.
- Sit in a chair with arm rests.
- Move closer to the edge of the chair, ready to stand up.
- Both feet should be flat on the floor and an equal distance from the chair.
- Lean forwards to start to stand up slowly and push down through both of your feet.
- Keep equal weight on both feet and use the arm rests for support as you straighten up.
- Repeat the above steps for continued practice.
Leading with the prosthetic side:
- Stop in front of the first step of the stairs.
- Using residual limb muscles, raise the prosthesis up and position the foot flat on the step.
- Put weight on the prosthesis. Squeeze the gluteal and residual limb muscles to extend the hip and move over the foot and knee.
- Place the sound-side foot onto the next step and start extending the hip.
- Use hip muscles on the prosthetic side to bring the prosthesis to the next step. The knee flexes to provide toe clearance.
- Following swing extension, the device maintains the shank segment in vertical alignment to allow correct prosthetic foot placement on the next step.
Leading with the sound side:
- Stop in front of the first step of the stairs.
- Place the sound-side foot onto the first step, extending the hip on the prosthetic side.
- Flex the hip on the prosthetic side to bring the prosthesis to the next step. The knee flexes to provide toe clearance.
- Following swing extension, the device maintains the shank segment in vertical alignment to allow correct prosthetic foot placement on the next step.
- Put weight on the prosthesis. Squeeze the gluteal and residual limb muscles to extend the hip and move over the foot and knee.
At the top of the stairs:
a) If the prosthetic foot lands first, continue walking.
b) If the sound foot lands first, wait for a moment and don’t drive the residual limb upward like on the other steps. Gently flick the prosthesis backward to clear the step lip and then continue to step forward onto the prosthesis.
- Hold on to the handrail and keeping your upper body straight, place the prosthetic side foot on to the first step. Ensure the foot is placed flat on the step.
- Load the prosthetic leg.
- Move your prosthetic side hip up and forwards, over the prosthetic knee to move it into full extension.
- Meanwhile the sound side moves up on to the step above the prosthesis, and the prosthetic side hip extends and load is placed on to the prosthetic toes.
- Lift yourself up on to the sound side while quickly kicking your prosthetic knee up and forward.
- Place your prosthetic side foot on to the next step.
- Repeat the above steps for continued practice.
- Hold on to the handrail and keeping your upper body leaned slightly backwards, place the prosthetic side foot onto the ramp.
- Put weight on the prosthesis. Lean slightly backwards to flex the knee. The knee will flex and give support.
- Lower the other foot onto the ramp while riding the resistance provided by the knee.
- Continue to walk down the stairs or ramp. The knee will adapt the support to the walking speed.
Note: Leaning backwards keeps from falling forward if balance is lost.